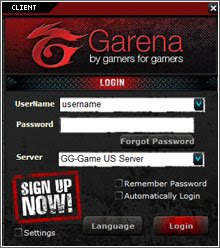
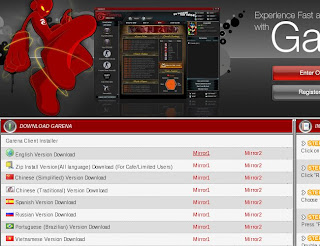
Step 1 - Launching Garena
Log-in using your registered username and password.

Step 2 - Joining a room

Under “LAN Games”, click on the icon or the name of the game you want to play. After that, select the region/country you are from by clicking on it. After clicking the country, a list of rooms under that region/country will be shown. To join that specific room, double click on the desired room.
Step 3 - Setting the Game Path
This is the step wherein most gamers would have a hard time. But trust me, this tutorial makes it look like a piece of cassava cake.

Once you successfully get inside a room, click on the “Settings” button.
The Settings window will pop up. Click on the correct game icon under Garena LAN Games, if you are inside a War3 RPG room, click on the War3 RPG icon; if inside a CS 1.6 room, click on the CS 1.6 icon and so on.

You can either browse or auto-search to find the .exe file for that particular game.
The following are the standard game executable path:
• War3 RPG: war3.exe
• War3 TFT: war3.exe
• Counter-Strike 1.6: cstrike.exe , hl.exe , hlds.exe , hltv.exe , steam.exe
(NOTE: you can use any of the one listed)
• Counter-Strike Source: hl2.exe , steam.exe
(NOTE: you can use any of the one listed)
• Call of Duty 4: iw3mp.exe
• Starcraft: starcraft.exe
• Dawn of War: w40k.exe
• Quake 4: quake4.exe , quake4ded.exe
(NOTE: you can use any of the one listed)

If you know the location of the .exe file, Click on the 'Browse' button in the Settings window. Locate and select the .exe of the game then click on Open. (Refer to image below for sample for Warcraft 3: TFT)

Or you can let Garena automatically search for the .exe file for you by clicking on 'Search' in the Settings window. Then the auto search window will pop-up, choose the drive under “Look in” then click “Search” (Refer to image below for sample for Warcraft 3: TFT)

After putting the correct game path in the Game Executable field, click on “OK” to save the settings.
NOTE: You do not need to set your game path every time you run Garena, you only need to set it once during the first time you use Garena in your computer.
Step 4 (finally) Starting and playing the game
After setting up the game path, click on the “Start Game” or enter “/start” in the message input area.
After the game has been launched through Garena, go to the game’s LAN section to view available host to join, or to create a new game.

In the Warcraft III: TFT menu, choose "Local Area Network" (NOTE: Not Battle.net).

You will be able to see all available games hosted in the current room under the “Games” list. Just double click on the available games listed to enter it. You can create your own game for others to join by clicking on the “Create Game” button.


